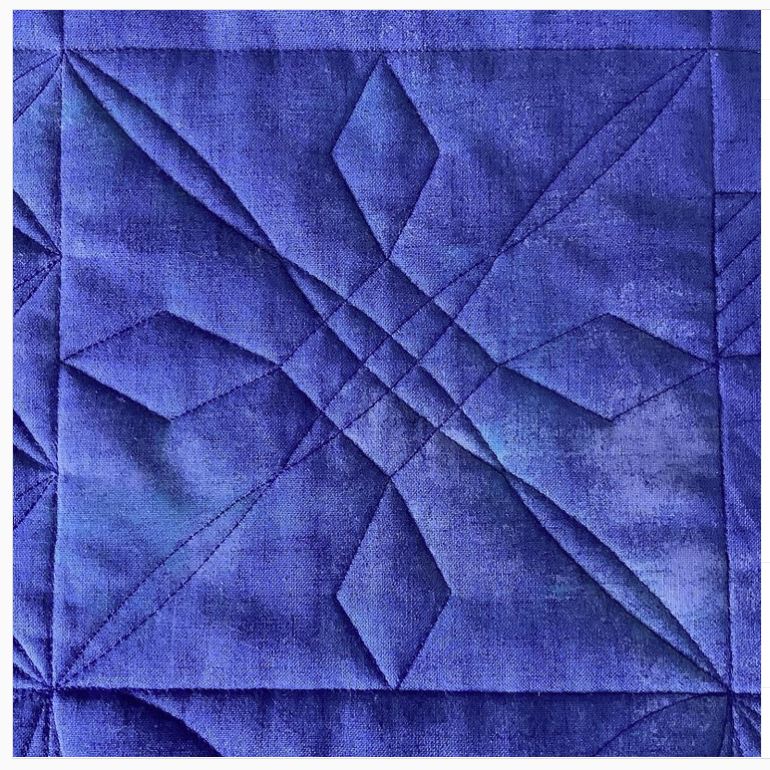
So, I am seriously 'playing' with the new Clarity Ruler foot by Accent in Design. I am in the midst of stitching out my wholecloth, having changed the choice of fabric at least 3 times. In the end I settled on some lovely shot cotton in a blueish/yellow colour which allowed me to use my favourite blue Aurifil colour (#2975)
 |
| Clarity Ruler foot |
I posted a few photos on Instagram after I had stitched out my motifs. Mental note to self: next time when you design a motif, make sure it can be stitched out without breaking thread...this was a bit of a hassle, to say the least. While a bit apprehensive, I decided to stitch the surrounding lines with the new ruler foot...after all, what did I get it for!
The foot is just a dream...there was no fiddling, just attach it, set your machine to springfeet freemotion mode, shift your needle to the +1 position and off you go. A little bit of fine tuning in terms of getting it to the right position height wise, but that was it. I tried different waddings on this sample...in the end I decided to use one layer of cotton and a thin wool batting on top of it to give it more definition.

All set, off I went to stitch my surrounding lines...only problem was that my marked on lines (the second big square in the project), while straight, were distorted in the corners, hence did not give me a perfect square. This was not due to the quilting but must have occurred when marking the fabric...just sloppy marking as usual. This caused me several headaches...the rulers that I was using were no longer than 6in, hence this left a lot of room for additional error in terms of them slightly shifting while I went along. I cannot tell you how many times I re-stitched those lines! In the end, after several unsuccessful attempts it occurred to me that I needed a bigger ruler that went down the length of my line if I had to have any chance at getting it to come out square. In addition, I found that those little stable tape blobs for those rulers did not do the trick in terms of holding your ruler in place.
So, I used my normal ruler (yep, gasp!). After inspection, I determined that my normal ruler was really only a smidgen higher than the Westalee rulers...as I was not going to do anything else but stitch a straight line, I thought that this would be alright...next thing I tackled the movement. The stable tape that is sold through Westalee is adhesive on one side so that you can stick it on your ruler, but apart from that is exactly what I have in my kitchen draws from keeping the cutlery from sliding all over. So, this is what I did...I cut a piece the length of the ruler and put it on my quilt...the stuff is pretty sticky even without the adhesive. I then placed my ruler onto it, adjusting the way I placed it until I was sure everything was aligned and straight (which in itself was a nightmare).

This is what this looked like. Clumsy...time consuming...yes, absolutely! But I was getting desperate, as there was no way to re-mark the lines on the quilted piece and the only way to achieve a square was with a ruler. I spent most of my time aligning, the stitching was no issue...the foot produces a very straight and tidy stitch (not one skipped stitch!). In the end, I got there and was able to stitch the 1/4in echo with a bit more ease once I had the first line down.

This was such a relief. Then I tackled the next section. In my initial enthusiasm I had decided to do an orange peel design using the Westalee clamshell template to speed up the process. After the lines I was dreading this a bit, but stuck with it as there is no other way to learn than to do it! Well, first issue was that my piece was shrinking from the quilting, hence my nicely worked out measurements of how many clamshells I would fit into that section obviously no longer worked out exactly. Oh, wow, you have to laugh...so, fudging was the name of the game! This was an interesting experience...ruler in one hand, sticky material on the quilt, going snail pace with the stitching, I went around the border. As you are stitching on the outside of a curve, I had to really concentrate not to stitch away from the template while at the same time observing the markings of the center of the template and where the clamshells meet. To my huge surprise, the fudging was easy...I made myself a mark on each high point of the clamshell and then shifted the template ever so slightly to reduce its width on a few selected ones and this worked out fine. In fact, it looks really good


You just cannot achieve that level of evenness in the curves by doing this freehand. I forgot to take a photo of the completed orange peel design...obviously I went around it another time in the reverse which produced the design and this turned out to be super easy by aligning the stitched clamshells to the template. So, overall the clamshell experience was much easier than the lines.
Will show you a photo of the progress the next time because no doubt there is going to be another major issue to be tackled...I have got more lines coming up and I am not sure how straight they are...we shall see.
Karin