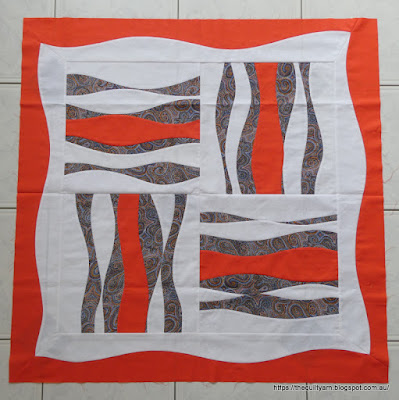
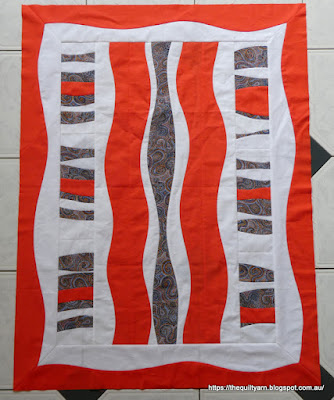
Still doing the curved piecing. I cannot tell you how many of those curved borders I have done by now...feels like dozens.
Was fairly nervous about putting a mitred frame around my finished quilt tops but there was only one way of finding out how that would work for me and that was obviously doing it.
However, decided to bite the bullet and frame the two quilt tops
This went smoothly. I took my time and went very, very slowly and to my big surprise this turned out great. A few hiccups here and there like my glue not holding my fold in place and also being unable to see the foldline clearly on the white fabric, but we got there in the end. This is a smallish quilt so the so this made it easier.
I then looked at my improvisational little quilt. My sides needed longer border strips, so I had to piece them. When it came to putting the curvy bits together, I realised that I would have to match the seams of each pieced border fabric on the curve. This took a few attempts but eventually (with a pin every 1/4in) I managed to match the seam
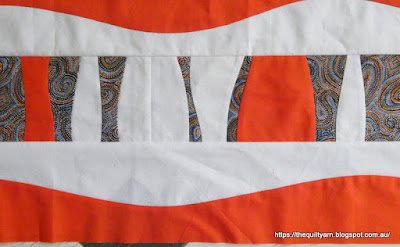
...so much so, you hardly can see it. Next issue was that I now had a very long strip of curved fabric that needed trimming. The strip went beyond my cutting table and was slightly bowed. My longest ruler is about 18-1/2in, so even folded in half I was struggling. I started trimming this in 1/8in increments from each side as I was paranoid of stuffing this up until I finally arrived at the desired width. This was time consuming but I definitely did not want to construct additional borders so I took my time with this and taking that little bit longer definitely paid of. My strips ended up dead straight. Attaching them was just as easy going as the first quilt. I laid it all out on the ironing board and prepared two corners at the time to sew.
I can honestly say that I would now feel very comfortable doing mitred borders on any quilt.
Here is the result
Like the look of this...corners match perfectly and I managed to keep the borders as straight as possible. This will look fantastic all filled in with FMQ.
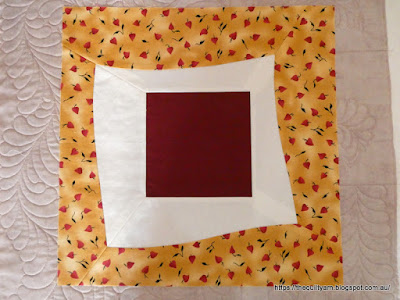
Also made a start on Quilt 3 for the Breaking Boundaries class (Bethanne Nemesh Online Workshop starting in February)
More curvy borders, this time block size. Promptly miscut my border material and will have to do it again, so it matches the size of the other border strips that I did. Does not matter though as I can use this to practice on once the workshop gets going.
Definitely learning a lot.
Karin