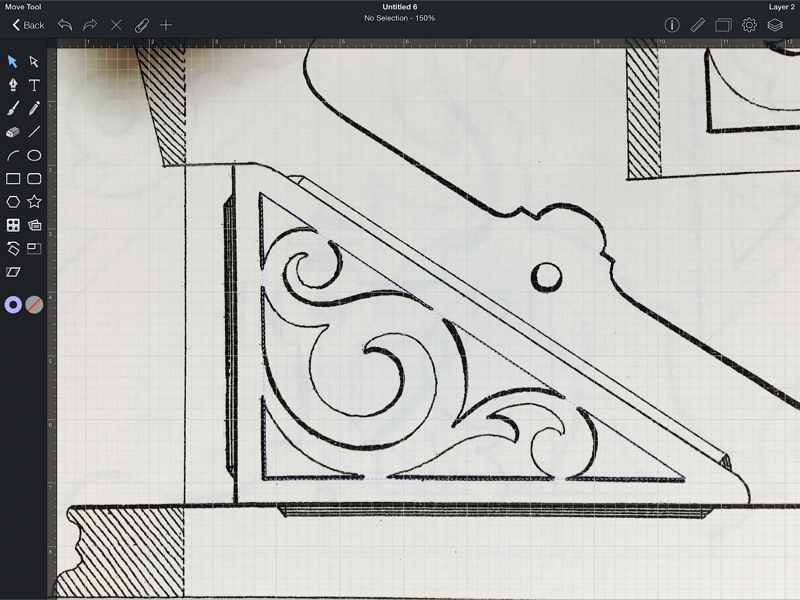
This is a picture I found in a Dover publication '200 Victorian Fretwork Designs' by A. Sanguineti (I love fretwork!)
I took a photo of that little image and imported it into the Graphic App...does not look like much, but wait...

After some general tidy up, I had the image of the motif drawn as a continuous line design leaving it open at one end as I was going to connect it to another copy of it (copying the image and flipping it over horizontally). I think I may have grouped them together as one unit at this point (should have taken some notes!)

I have played around with something a bit similar in the past and knew that it needed to be less horizontal, so I turned the unit by 45 degrees, copied again and aligned it. This looked a bit more promising. Love the ability to just play around with the arrangements at this point.

I then grouped this into one unit, copying once again and flipping it over vertically to get the second half of my unit.
 tada!!
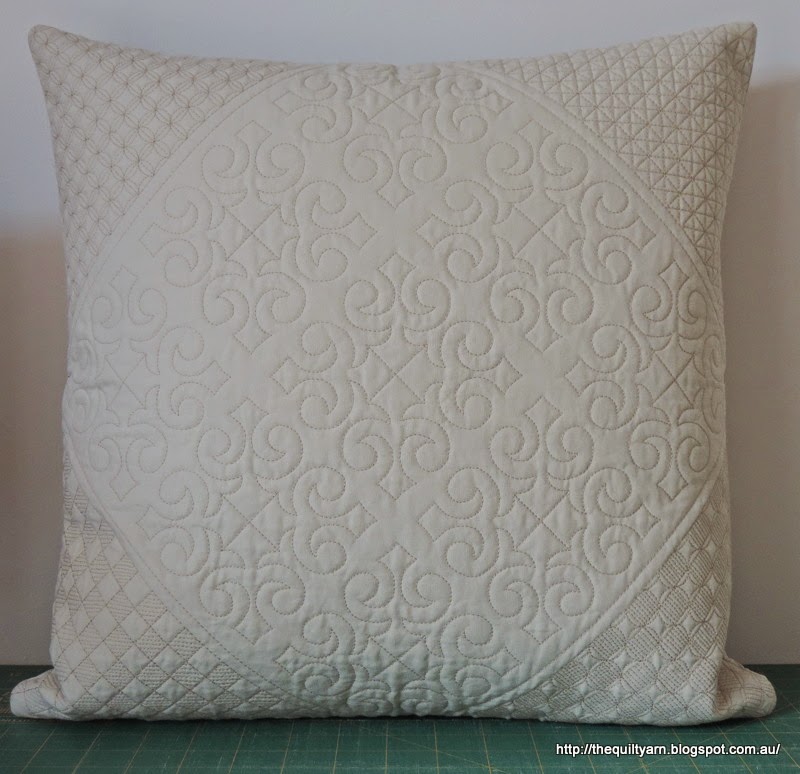
Actually quite like this arrangement. Put another layer on to put it into a square to get the visual on how this would look in a quilting block. Instantly thought that I could extend this motif further by putting something into the corners as well, but I will stop here. This whole process took me about half an hour in front of the TV. Now I could spend more time on this to make it absolutely perfect for tracing which is entirely do-able on the Ipad, but I think if I was going to use that I probably would import this into the computer drawing program to iron out some of the wobblies (mind you, have not explored all the drawing functions of this App as yet, i.e would like the stroke of the pen tool to be pointed...possibly has this in-build somewhere).
tada!!
Actually quite like this arrangement. Put another layer on to put it into a square to get the visual on how this would look in a quilting block. Instantly thought that I could extend this motif further by putting something into the corners as well, but I will stop here. This whole process took me about half an hour in front of the TV. Now I could spend more time on this to make it absolutely perfect for tracing which is entirely do-able on the Ipad, but I think if I was going to use that I probably would import this into the computer drawing program to iron out some of the wobblies (mind you, have not explored all the drawing functions of this App as yet, i.e would like the stroke of the pen tool to be pointed...possibly has this in-build somewhere).
Anyway, hope you enjoyed this little play session on the Ipad...I certainly did. There is a letter box around the corner from my house that has a really nice motif on there...I am planning to inconspicuously walk past and take a photo to draw that out...perfect quilting motif!
Karin
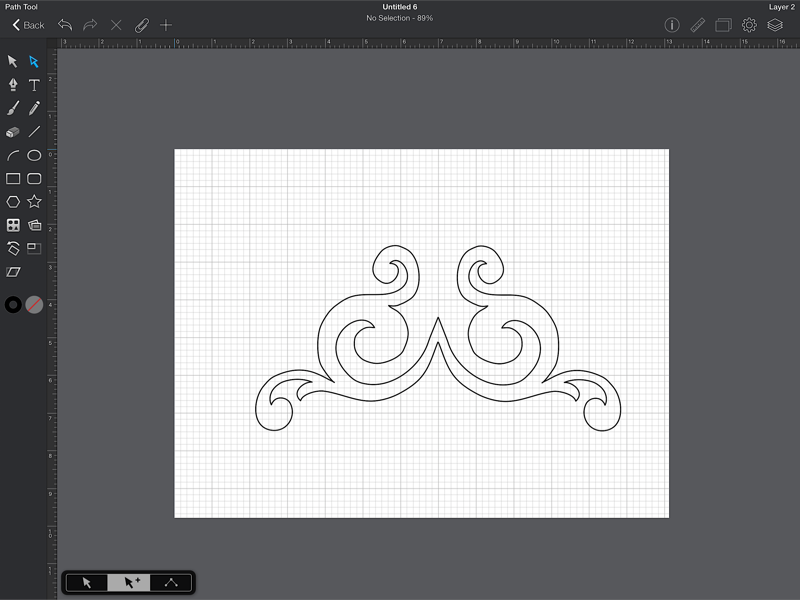
I have played around with something a bit similar in the past and knew that it needed to be less horizontal, so I turned the unit by 45 degrees, copied again and aligned it. This looked a bit more promising. Love the ability to just play around with the arrangements at this point.

I then grouped this into one unit, copying once again and flipping it over vertically to get the second half of my unit.
 tada!!
Anyway, hope you enjoyed this little play session on the Ipad...I certainly did. There is a letter box around the corner from my house that has a really nice motif on there...I am planning to inconspicuously walk past and take a photo to draw that out...perfect quilting motif!
Karin