Tuesday 28 March 2017

Wholecloth Quilting Preparation

I thought I do a post on preparing for Wholecloth quilting to give a bit of an idea of the work that is involved in actually producing a Whole cloth. I take an extraordinary long time with this but I think it does pay off in the end with having no issues while quilting and finishing off the quilt.

For my latest Whole cloth I chose blue fabric and yes, I was able to mark the entire design with my trusted blue water erasable markers. I highlighted the next picture a bit so that you can see the marking better.

I am happy to say that I am learning from past mistakes...as you can see I have put a wavy line in one of the borders...just very loosely and not entirely exact. This is not the design that goes in there, rather it is a bit of a helping line to keep me on track with a dense type 'onion' design. While I could 'wing' it, I thought it made a bit of sense to follow the lines loosely so that it looks somewhat even. Also, I drew in the swirls...again, unlikely that I follow that exactly, however those swirls gave me a lot of trouble last time. Somehow my brain tends to get confused with direction, so these swirls should keep me me the straight and narrow. I did also draw in the grid. While you could do this after you basted and just put it on with a chalk pounce, I prefer to have straight lines drawn in for accuracy. Once basted and half quilted it is extraordinarily difficult to draw on a straight line.

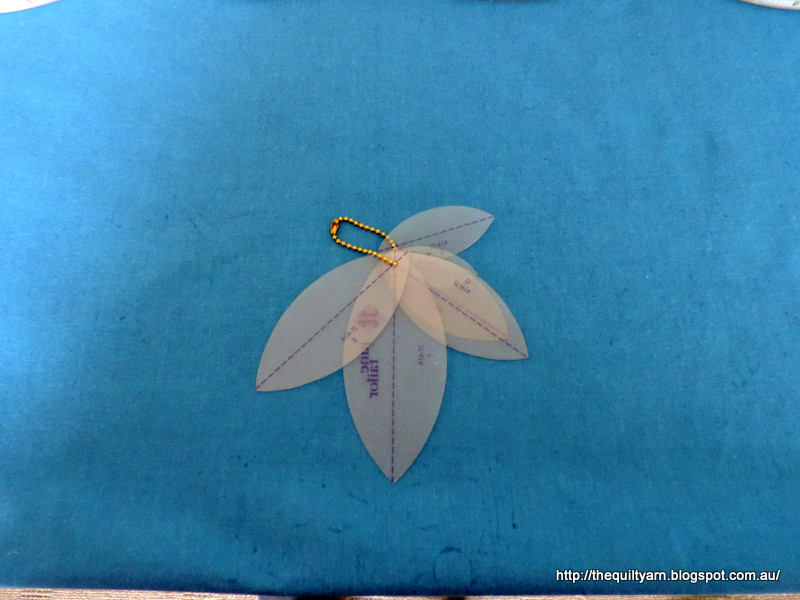
Here are some of the things that I am using to make life a bit easier:

Lightbox
Very lucky...my husband got me this for Christams the year before last...

While I use other shapes as well, the leaf shapes from June Taylor are probably the ones that I use most for all sorts of things.
Curvable Ruler: if you see it, buy it! I am a somewhat lazy quilter and when it comes to putting a spineline in a border for feathers, this is the tool! I spent a lot of time getting my wavy lines 100% correct and once satisfied with the look and aligned with my space in each border side, just whack it on and draw around it. Love this...makes the job so much easier.

Several days later...and after all of that...I am re-doing my drawing!!! 😅 Looking closer I was not happy with the arches (and some of my lines)  in my drawing and I did give it a bit of a trial stitch-out and decided that they were too sloppy which would have been too noticeable. This has brought me to a complete standstill for the time being, however I am used to this...just not worth it to hurry the process along as this will be months of stitching and the worst thing would be if you are not entirely happy with your design. So back to the drawing board again for me.

Karin

Thursday 23 March 2017

Tension Question

Dear Dee

You are a No Reply blogger so I cannot answer your email direct.  Hoping that you read this. You describe in your email how you are trying to adjust your tension and nothing seems to work. The issue is that the bobbin thread comes to the top no matter what the adjustment is.

My machine has just come back from a 'major' service and the technician seems to have spend a lot of care and attention on the machine...it runs like a dream. Let's start with some basic things.

- you should run the same colour thread in the bobbin and on the top of the machine, so that minor irregularities from differences in speed when FMQ will not be seen so easily;
- you do not say what thread you use; I run Aurifil thread 50/2 in both the bobbin and top with a 70/10 or 80/12 needle (depending on what sort of project I am doing)
- if your bobbin thread shows through too much that means that the upper tension is too high pulling your bobbin thread to the top, so you would go and reduce the top tension and that usually fixes the problem
- my tension usually sits on 3.8 for the above thread/needle arrangement; if you need to go lower and lower to try to fix the problem that indicates to me that the bobbin tension might not be right.

Looking at the bobbin case of the newly serviced machine:
The closed section faces your palm and you will see the little screw...the technician who services the machine will check the tension on the decorative and general sewing stitches and this is where it should sit. If you imagine a clock, the slant of the screw indicates that it is about 3 min past 12 o'clock.
I am FMQ with that most of the time, but some time ago I have come up with a similar issue than yours which I have talked about in a previous post. I felt that the bobbin tension needed to be a little bit tighter.

I have got a second bobbin case, so I adjusted that one
My screw now sits at about 10 past 12 o'clock (which actually might be a tad too much and I might go and put that back a bit). This fixed the issue of the bobbin thread coming through on the particular project that I was working on.

You do not need to buy a second bobbin case...all it needs is for you to adjust your tension screw a little bit. Make a mental note (or draw a picture of where the screw sits, so you know where you started off) and turn the screw to the right slightly...go in small incremental steps until the tension is right. Given that it is the same machine, I would think that you only need to shift it a tiny bit if your tension screw looks like in the first picture.

Hope this helps

Karin

Monday 20 March 2017

Second Finish for the FAL 2017 First Quarter

My second finish for the Finish Along 2017 is done.  My original goal list can be found HERE.  You can read all about the FAL2017 by clicking on the button below


I am so pleased with my progress. Did not think I would finish another quilt before the deadline was up!

This wall hanging was started last year following a class with Bethanne Nemesh called 'Feather Faster'. I really enjoyed this class even though it was just basically drawing out feathers, but we were left with 'homework' in the form of this cute little wall hanging to try out some of the feathers. This was great fun but took a while to complete as I had started to densely fill in the background. Underestimated this a bit.

But here it is 'Birds On a Wire', designed by Bethanne Nemesh

Close up

Texture Galore

Yes, went a bit overboard with the background fillers but the texture is amazing! Also discovered that by outlining the bottom feathers with the lighter orange thread, it really made it pop...should have done this also in the  feathers above with some white thread...that would have been good.  Well, live and learn...😺

The wall hanging measures 32" x 28" and is exclusively quilted with Aurifil 50/2 thread. Needless to say this was a lot of fun!

Linking up to the Finish Along 2017 over at Eleven Gardens Quilts for the Quarter 1 Link Up

Karin

Sunday 5 March 2017

First Finish for the FAL 2017 First Quarter

My first finish for the Finish Along 2017 is ready.  My original goal list can be found HERE. I probably should have called the heading 'my first and probably only finish ' for the first quarter. You can read all about the FAL2017 by clicking on the button below

I took the completed quilt for a walk. There is an old wooden picnic set up in our surrounds which is ideal for quilt photography.
The quilt is lap size using Moda charm squares (A Field Guide) which are set around a smaller darkbrown/green square which in turn is framed by some beige rectangles.

This quilt took a very long time to complete (I think I constructed this in 2015 some time)...I underestimated the time it would take to FMQ this and got sick of it fairly quickly as there was a lot of marking involved for the continuous line design in the squares.
For readers who follow my blog you would remember that I got the new Clarity Ruler foot by Accents by Design in the beginning of the year...what a Godsend...this new foot worked brilliantly for me and I was able to finish the line design with just 5 little marks to align my ruler. This was great and I was able to finish the line designs off in a relatively short period of time and then proceed to quilt the narrow lines in the surrounding rectangles. The tight lines were a hassle (what was I thinking!) and I must admit they nearly finished me off, but here it is...finally done!

Very happy with the end result
Onto the next project...

Linking up to the Finish Along 2017 over at Eleven Garden Quilts for the Quarter 1 Link Up

Karin

Wednesday 1 March 2017

What a drag!

I have been missing in action largely due to my Field Guide Quilt. As I have listed it with the FAL 2017 I felt that I needed to continue on this UFO.

Let me tell you...this was the most un-enjoyable exercise. I do not know what possessed me but I had decided to adorn this quilt with some more intense quilting, i.e. lines in every beige rectangle. While that seemed all very do-able, it nearly finished me off.

Here are the little rectangles...looking pretty harmless...
Some lines quilted...the problem was that I had gazillions of those rectangles! While persevering I must say...this was not enjoyable nor did it increase my skill level...in fact I started to become fairly sloppy in doing the lines because I just had enough. Nearly put the quilt away again because it was severely putting me behind in some of my other endeavours. Finally realised that I actually do not like quilting pieced quilts at all. Maybe a bit of a motif here and there or some allover design, but not this somewhat brainless repetition. For me, that just about killed all inspiration or enjoyment in finishing this quilt.

While I love FMQ, I love the blank canvass of a Wholecloth. Even though you also do a fair bit of repetition in a Wholecloth, it somehow feels different, as you are building a picture. This is missing for me in a pieced quilt, or maybe it was just this quilt. Nevertheless I forced myself to keep going, doing a few rectangles every night...looking at the quilt, I did not feel that I was making any progress at all! I started counting the rectangles in order to assure myself that I actually was making progress, but even that did not help as it appeared to be endless. In the end I gave up and just blindly stitched these rectangles at night...what a pain this was...
but, here it is, FINISHED!! ...only the binding left!
It is just a lap quilt and the work involved was obviously deceiving.

This will be my only finish for the FAL2017 First Quarter as I am now seriously behind in everything else. Washed some fabric today though, itching to get going on another Wholecloth!

Karin

Popular Posts