Observing the direction of your feature print fabric, sew a 2 1/2in x 4 1/2in red tone-on-tone rectangle to the right side of a 4 1/2in feature print square. Press the seams to the red tone-on-tone fabric. Join a strip set C, 2 1/2in x 6 1/2in segment to the top of the unit as shown in the block diagram and press the seam towards the feature print fabric. Make 12 blocks this way.


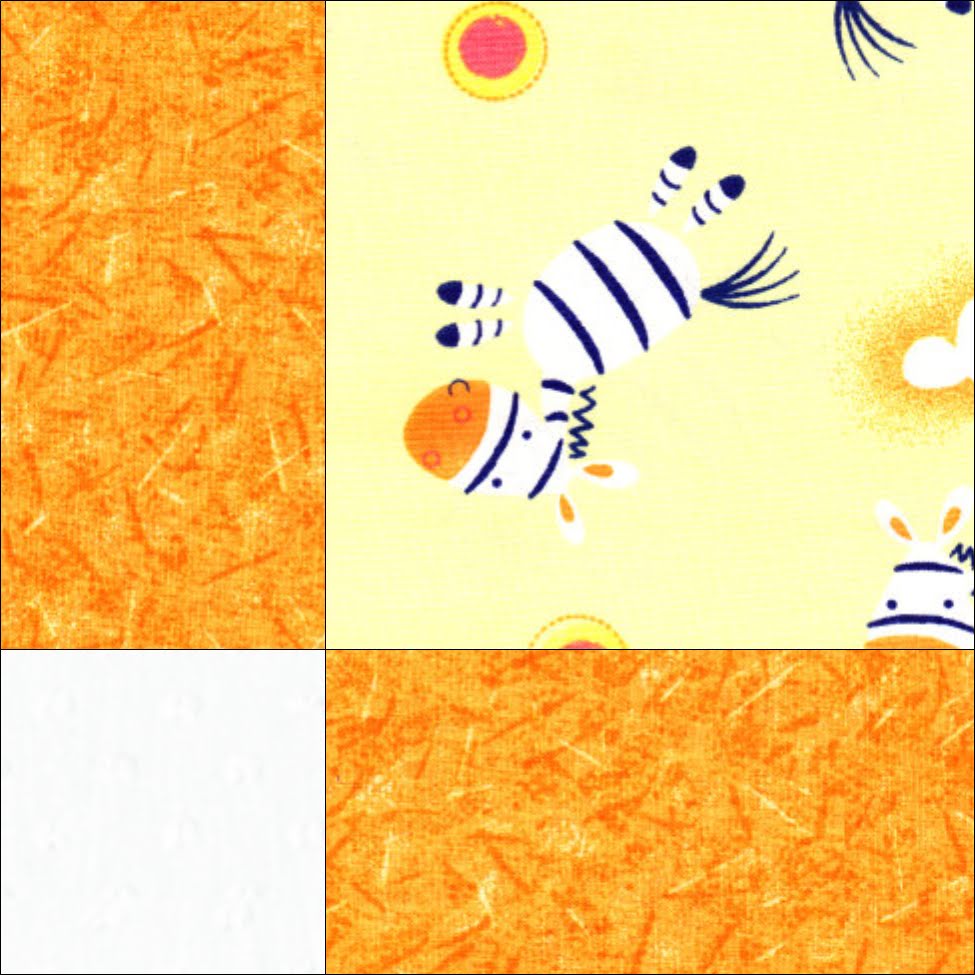
Why is the direction important? You can just make 24 of those blocks and turn them in the direction they need to be placed if you have non-directional fabric. However, if you have directional fabric, 12 of your blocks will be upside down...I found this out the hard way when I made my zebra baby quilt.
 |
 |
That's it, after this it is just a matter of sewing this all together and my little baby quilt top is done!
Karin


No comments:
Post a Comment
Hi...thanks for stopping by and commenting. Very much appreciated! I will endeavour to answer all comments via email. Please check that you are not a no-reply blogger as there is no way of responding to you (other than by reply on the blog). If you need help with this issue, please head for Tutorials for a link on how to fix this issue.