Showing posts with label Easy Baby Quilt. Show all posts

Sunday, 7 March 2021

New Pattern Coming Up

This is going to be my new pattern...a quilt that you can literally construct in a day! While it looks simple it does require being able to work with partial seams, so hopefully I will be able to get my diagrams right so that people can follow this. Otherwise it is obviously super simple and quick to come together. It reminds me of the colourful wooden blocks that the kids used to play with.

I do seem to like bright colours...did not think twice about putting all those bright screaming colours together. Maybe because the last quilt I made was just so pastel and while quite pretty, pastel really does not appeal to me at all.

I will quilt this with an edge to edge design, probably in variegated thread. Just noticed that I have no batting, so this will have to wait a few days to be put together. Looking forward to the quilting part.

Karin

Tuesday, 5 May 2020

Let's Do Some Ruler Work #10

I finished my little experiment with the Multi Clamshell ruler (see also previous post). 

I thought that I could enlarge the spiral with the echo feet...actually I could not as the Multi Clamshell ruler has a little nudge to stop the foot. With the echo foot, that meant of course that I was out of alignment, so had to re-think this whole thing. Still decided to go ahead and spent some time on working out the spacing of the spirals using the various lines of the ruler to align to the many seams to keep my rows straight. 

Here it is

Easy baby quilt

Not my best work but a fun experiment to pull off. In retrospect I think this looks a bit too orderly, even though I nested the spirals in the second row. As I was constrained by the seams in terms of using this for alignment, I think it would look a bit better if the rows were closer together. Also, in looking at the finished project it would have been good if I had made the spirals of the second row go the other way to get away from this very ordered appearance. But, having said all that, I am still very happy to have tried this out and think this could look quite good on a smaller baby quilt with the changes mentioned. In terms of quilting this was very easy to do and best of all, quite quick.
Still have to put the binding on and will put up a picture of the finished quilt, hopefully a bit brighter ( the weather has been just grey in grey with lots of rain over here - no matter how hard I tried at different times of the day, the photos just would not come out any lighter)

Time for the Linky...obviously the Linky Party has not taken off as I had hoped. I thank the few that have participated over the last few months, just having a few link ups has been good fun. I think it is the timing actually, coupled with me being a rather smallish blog that has made this a bit difficult. There is so much going on in cyber space at the moment and even I struggle to keep up. I think I have about 20 something videos saved on FB alone...all really interesting things to watch and to try...it is almost overwhelming. I would assume that I am not alone in this and think that this has contributed to its modest take up. Would be interesting to hear what you think...for now, I will keep going for this month, but obviously if it remains like that, then I will call it a day (which is perfectly fine, I have learnt heaps from this and finally got to make a blog button!)

If you currently working on a project using rulers or have one from a past post please link up here

You are invited to the Inlinkz link party!

Click here to enter

Karin

Monday, 3 February 2020

Easy Baby Quilt Revisited

Assembly of the quilt top

Lay out the blocks in 8 rows of 6 blocks following the quilt layout diagram. Sew the blocks of each row together, pressing the seams in alternate directions. Sew the rows together, abutting the seams and joining the intersections. The quilt top should measure 36 1/2in x 48 1/2in. Press the quilt top.

...and presto, a finished quilt top

This turned out really cute! The only issue I had was with my ironing the blocks in bulk. Obviously made a mistake in thinking that I thought the seams would just nest as if by magic. Pays to pay attention! The first two rows nested beautifully but afterwards I should have reversed the order of ironing the seams. Yep, that was a bit of a hassle but I got there eventually.

Now it's just a matter of deciding how to quilt this...will play around a bit with that on the Ipad.

Karin

Tuesday, 21 January 2020

Easy Baby Quilt Revisited

I am up to making the cute hedgehog blocks: I will need 24 of those blocks

Observing the direction of your feature print fabric,  sew a 2 1/2in x 4 1/2in red tone-on-tone rectangle to the right side of a 4 1/2in feature print square. Press the seams to the red tone-on-tone fabric. Join a strip set C, 2 1/2in x 6 1/2in segment to the top of the unit as shown in the block diagram and press the seam towards the feature print fabric. Make 12 blocks this way.


Make another 12 blocks as above, however join the 2 1/2in x 4 1/2in red tone-on tone rectangle to the left side of your feature fabric and join the strip set C  segment to the bottom of the unit to make the block.

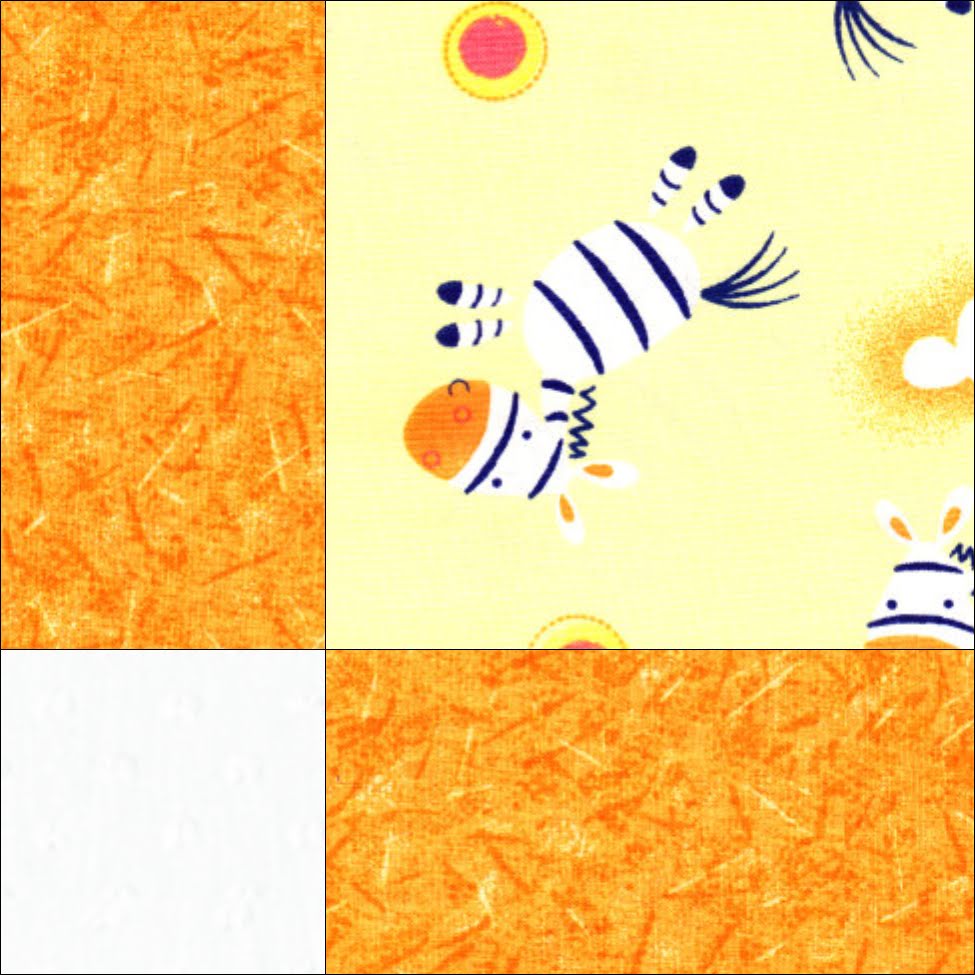
Why is the direction important? You can just make 24 of those blocks and turn them in the direction they need to be placed if you have non-directional fabric. However, if you have directional fabric, 12 of your blocks will be upside down...I found this out the hard way when I made my zebra baby quilt.

Just something to be aware of...obviously with my hedgehogs it is not such an issue as they appear to be going all over the place.

That's it, after this it is just a matter of sewing this all together and my little baby quilt top is done!

Karin

Wednesday, 15 January 2020

Easy Baby Quilt Revisited

Continued onto the next section of my Easy Baby Quilt pattern (you can find the free pattern under the tab 'Free Patterns' above).

This is a slightly altered version of my Easy Baby Quilt

My finished block size will be 6 1/2in

Cutting:
(using the colourway of this altered quilt)

Cut all strips across the width of fabric.

9, 2 1/2in white background print strips
6, 2 1/2in blue tone-on-tone fabric strips
3, 4 1/2in red tone-on-tone strips
3, 2 1/2in red tone-on-tone fabric strips and crosscut into 24, 2 1/2in x 4 1/2in rectangles
3, 4 1/2in feature fabric strips (my hedgehogs!) and crosscut into 24, 4 1/2in squares
5, 2 1/2in blue tone-on-tone fabric strips for the binding

As I am changing the quilt ever so slightly, I also cut
4, 2 1/2in orange tone-on-tone fabric strips

I like to cut out the entire quilt before I start piecing unless its a block arrangement I have never done before and need to do some test blocks beforehand. This quilt uses the strip sets, hence lots of chain piecing coming up and it is easier to have all the fabric ready to go,

So, let's do the first two strip sets

Strip set A
Stitch a 2 1/2in blue tone-on-tone fabric strip to either side of a 2 1/2in white background strip. Press the seams towards the darker fabric. Crosscut into 2 1/2in segments. Make 24 units this way.

Strip set B
Stitch a 2 1/2in white fabric strip to one side of a 2 1/2in blue tone-on-tone fabric strip. Press the seam towards the darker fabric. As I am changing my quilt up a bit, I now need to stitch an orange strip to the other side of the white strip. Once that is done, crosscut each strip set into 2 1/2in segments. Make  24 units this way.

Strip set C
Sew a 4 1/2in red tone-on-tone strip and a 2 1/2in white background strip together, pressing the seams towards the red print. Crosscut into 2 1/2in x 6 1/2 in rectangles. Make 48 units this way.

Block 1
Join a 2 1/2in strip set A and a 2 1/2in strip set B segment, abutting the seams and joining the intersections, pressing the seams outwards. Sew a 2 1/2in strip set C segment to the bottom of the unit, completing the block. Press the seams downwards towards the red fabric. The block should measure 6 1/2in square.

And the first block is done! I am glad I am doing this again...forgot how very easy this comes together. Perfect quilt when you need something in a hurry and do not want to spend a lot of time on piecing. I will now go ahead and make 24 of Block 1. I usually do this via chain-piecing, i.e. stitch all the same units at the same time, feeding them continuously through the machine, ending up with a long strip of joined pieces. Then I snip them apart and start with the next lot of units. This saves a lot of time and thread and is one of my favourite piecing method.

Karin

Wednesday, 8 January 2020

Easy Baby Quilt Revisited

I decided to make my Easy Baby Quilt again. I have made this quilt twice already, but both times given it away. I have this gorgeous hedgehog fabric and thought it might be fun to stitch this up again.

I originally designed this to showcase cute fabric that was just too cute to cut up into smaller bitses. If you are interested in the pattern you can download this on the tab above under Free Patterns or you can follow along as I construct this myself. The pattern has been around now for a long time and has enjoyed some popularity. While this is not a formal Quilt-A-Long, I thought people might enjoy seeing me putting this together. Maybe you like to follow along...it's really very easy and comes together very quickly. If you got that cute, bright fabric this might be just the pattern for it.
Materials needed:
Materials:  
70 cm (3/4 yd) of white background fabric 
80 cm (7/8 yd) of blue dotty fabric for the blocks and binding  
70 cm (3/4 yd) of orange tone-on-tone fabric 
40 cm (1/2 yd) of feature fabric 
113cm x 143.5cm (44 1/2in x 56 1/2in) Backing fabric 
113cm x 143.5cm (44 1/2inx 56 1/2in) Batting 
Neutral Cotton thread for piecing 
Coordinating Cotton thread (e.g. Aurifil 50/2) for freemotion-quilting 
Rotary cutter, quilting ruler and mat 
General sewing supplies 
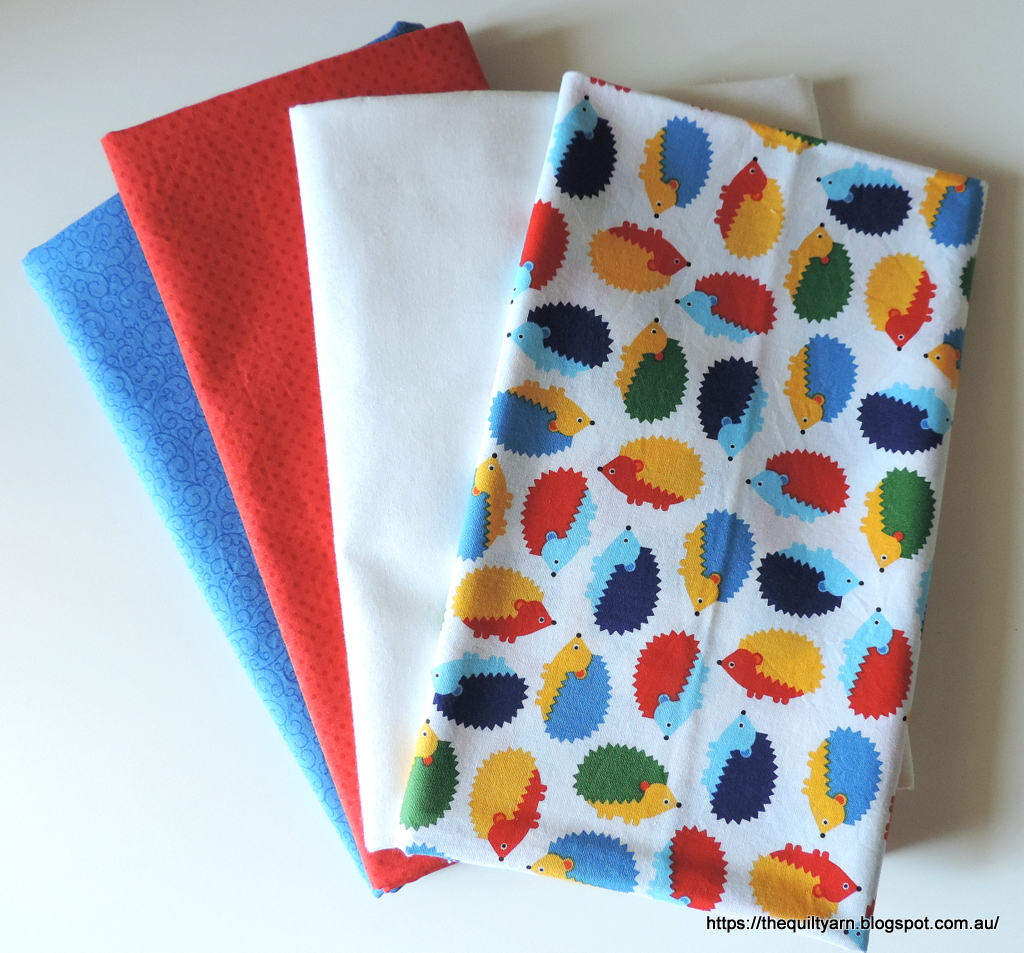
So, here is my selection of fabrics
How cute is that hedgehog fabric? I just got enough...it is 'Woodland Pals' by Ann Kelle for Robert Kaufman Fabrics. I wash all my fabrics and except for the white fabric this is ready to go. You might think that this is unnecessary, however I have had fabric bleed when washing quilts and I think it is just not worth it. I will also wash the white fabric to have a consistent feel to all of the fabric. Sometimes I starch my fabric...this really depends on what quality of fabric I am working with. If it is flimsy, I will starch it a bit to make it easier to work with.

After I done this I usually go onto my trusted EQ8 program to see what the potential quilt could look like. For this I  photographed the Woodland fabric (the other tone-on-tone fabrics can easily be matched by some of the thousands of fabric that comes with the program). The new EQ8 has an improved image worktable that allows you to import an image of  your fabric and then scale it to size. This makes importing fabric very easy (the only problem I had today was a slightly blueish tint-must be the light). I find the EQ8 program invaluable for just trying out different colour arrangements...find it really hard to visualise an entire quilt and the picture helps in just quickly seeing whether something works.

So, here is what this could look like
Hmm...that may need some developing...not quite 'there' for me.
Like this actually a little bit better with the orange spots in it...changes the pattern a bit and makes it look quite busy, but it goes with the 'busy' hedgehogs and in my mind pulls it all together. So the pattern needs to be changed up a bit. No stress...I will need less of the white background (of which I have got a fair bit) and some orange strips. If I count the orange squares above, it gives me 24 squares. A strip of 2 1/2in orange print cut across the width of fabric will give me 16, 2 1/2in squares (I know this as I got a table where I can look this up), hence I will only need 2, 2 1/2in orange strips. I think I have got a Fat Quarter, so that will make it 3, 2 1/2in strips across a Fat Quarter (in reality I probably need 4 strips to have some insurance for mis-cutting).

So, all set...this will become my Wednesday project!

Linking up to Midweek Makers over at Quilt Fabrication

Karin

Popular Posts