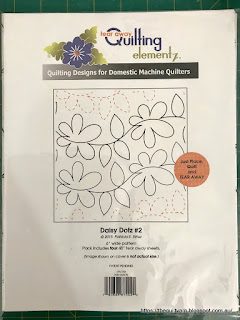
I had bought this a while ago from the Fat Quarter Shop to try out the printed paper sheets. There are 4 sheets at 48in wide in the packet. As I had another project in mind for this, I traced the design off onto my trusted Golden Threads paper. I have done an edge to edge design on the stationary longarm before and spent some time working out exactly how I wanted this to be placed. With the printed sheets ready to go, that was fairly easy as there are 'helper lines' printed on and you also got the previous row as a ghost design to go by.
Here are some process shots:
Starting off...bit hard to see as I traced the design off with the blue water erasable pen (I am overly paranoid to transfer marks onto the quilt).
Stitched out the first rowI removed some of the paper as I went along...this is really easy, all it needs is a little tuck diagonally across and the paper starts separating. The only thing you have to keep in mind when doing this on a sit down machine or DSM is to keep the designs relatively simple otherwise you are going to be there for hours plugging out the little paper bits that get stuck in the points. This design is 6 1/2in and was a delight to work with...nice sweeping lines and easy to remove the paper.
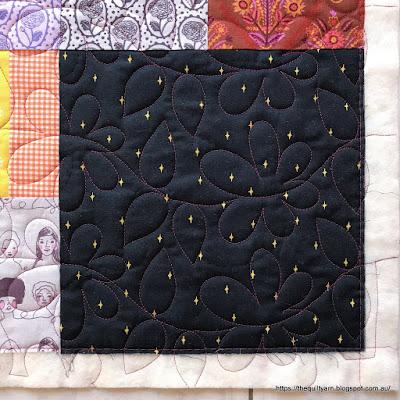
Finished this today and I must say, I love this simple design...looks great on my little quilt.
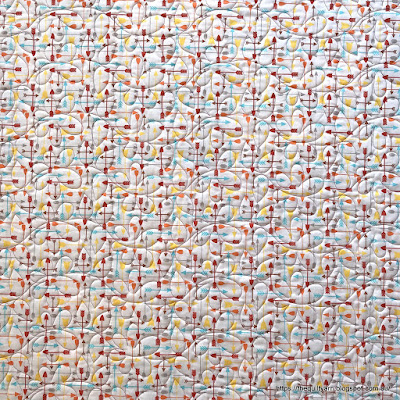
I used hot pink thread for this quilt (Aurifil 50/2), not my usual choice of colour! However I had basted this quilt before I started and used a hot pink thread for that (so I would see it easily). When I saw the thread on there, I just loved it and chose to do the design in that colour. Just had to be careful in the end taking out my basting stitches as it was basically the same colour.Back of the quilt
How good does this look!And my personal favourite
Could have been even better if I had used a higher weight thread. Very pleased with how this turned out. Linking up to Freemotion Mavericks over at Lizzie Lenard Vintage Sewing.
Karin


That is fascinating. I didn't know those printed designs could be used for a stationary machine. It looks lovely on your quilt.
ReplyDeleteYour result looks great. I love Golden Threads paper as well. Rather than tracing with a marking tool I "needle punch" the designs when I need multiples. Basic steps: 1. Trace design once onto paper you are willing to stitch thru - I don't necessarily use the Golden Threads paper for this. 2. Cut number of pieces of Golden Threads paper needed and layer on top of each other. I have done up to 12, maybe 15, at a time. 3. Place traced design on top of pile. 4. Staple all layers together securely so there is no slippage. 5. Put large needle in machine and no thread. I have a needle I reserve for this purpose. Free motion stitch along the lines traced on the top layer. You are aiming for sort of standard stitch spacing. 6. Remove staples and use each piece of Golden Threads paper in the same way as you would if you traced the lines. I find that with the needle holes I can see as well on most fabrics as I can if I trace the design, there is no risk of marker issues and the paper tears away even easier. It might not be the best for really intricate designs as you get some paper breakage as you go, but I have done fairly intricate successfully.
ReplyDeleteIt looks fantastic... well done.
ReplyDeleteHello Karin,
ReplyDeleteThat looks really painstaking! I can guarantee I would have ripped the paper.
Wonderful quilting, and I really love your fabrics!
Thank you for linking up with Free Motion Mavericks.
Love, Muv