Tuesday, 28 January 2020

Let's Do Some Rulerwork #1

For the first of our Ruler Linky Party I would like to draw your attention to a class I was made aware of by Quiltshopgal some time before Christmas. It's Patsy Thompson's 'Beginning Free Motion Quilting with Rulers' offered through the Missouri Star Quilt Company. As the title suggests it is a class for beginners, however as it was relatively inexpensive and I absolutely love Patsy Thompson's teaching style I jumped on the opportunity. I figured that there are always hints and tips that I can pick up from watching her videos.
The class covers basic stuff about ruler quilting including information about measuring/marking, ruler feet, how to stitch with a ruler and alignment, and some information about rulers. In the class Patsy is making a basic table runner using a straight line design, arcs and curves. I was particularly interested in the marking of the designs and producing accurate channels, so I followed along making a slight variation of this table runner.

So I did some straight line design, curve design and arched swags. I used my Pro Echo 7 and 12 for the curves and arcs. Should have probably chosen some more contrasting fabric and thread as this was very hard to photograph.

...and then I did some filling in to just practice different designs
Gone a bit overboard practicing some crosshatching with the Pro Echo12 ruler (still find that very challenging) and also some more piano keys with the HQ Line Grid ruler. And...as you can see...stuffed the curves up a bit by filling them with a darker thread which makes the filler design stand out more than the curves. Live and learn (I think Patsy did mention this, but I was just so bored with the coordinating thread). What did I learn?
- measuring your border (for each design) down to 1/8in was absolutely essential
- marking your center lines correctly (and, if need be, correcting them slightly after your first pass) is important to have all the points align on the same line (easier said than done!)
- alignment of your ruler to hit that little tick mark each time is crucial
- picked up a neat little hint on judging the alignment when doing arcs, using this little tool (which I had floating around in my sewing box)...just holding the little 1/4in notch against your ruler to double-check that you are actually 1/4in away from your tick mark...this was very helpful when wanting to be precise.
Great class!

Now its your turn to share what you have been making with rulers.


You are invited to the Inlinkz link party!
Click here to enter

Karin

Sunday, 26 January 2020

Quilt Photography

How hard is it to photograph quilts!
Usually I  photograph my projects on our garden bench, however of late it has just been too sunny, so I had to come up with something different. First I had to wait for a day that was a bit overcast...not that easy in the Australian summer! To avoid the shadowing that I was getting on our garden bench, I went for a walk to use the bush setting around our area as a back drop
Nice, but not that clear

Garden bench?
Hmm...I might have to do another photo session

Karin

Friday, 24 January 2020

Ruler Work Linky Party Coming Soon!

 Let's Do Some Ruler work Linky Party Starting Next Week!

Let's Do Some Rulerwork is a linky party to show and share your ruler quilting. It does not matter whether it is done on a Domestic Sewing Machine, longarm or sitdown longarm machine. If you are like me, you have delved into the world of ruler quilting and accumulated a fair few rulers in the last few years. The aim is to:

- actually put those rulers to use and share our progress
- share ideas on designs we tried/or practised, and
- learn from sharing resources and inspiration about all things 'rulerquilting'.

This linky party is meant to be a supportive environment, so if you are just starting out and using straight rulers for simple line designs, that is perfectly fine. There are some amazing line designs that can be done with just a straight ruler. Similarly, if you are more advanced and are creating more complex and involved designs, it would be lovely to see that and learn from it. I am hoping to create a space where we can showcase our work, be inspired by what we see and learn from each other as we go along (as well as having some fun and exploring new blogs).

The rules are fairly simple:

1. Link up with a recent post that features a project where you used some ruler quilting. The project can be a WIP, finished project or just something you tried out with a ruler that you have (it does not have to be pretty...my first attempts with some rulers are definitely not pretty!).
2. When linking up make sure that you link to your post and not your home page (if using Instagram please use the hashtag #thequiltyarn).
3. Visit at least 2 other links and leave some comments. Following my blog is not required.
3. Please include the 'Let's Do Some Rulerwork' button somewhere on your blog or include a text link in your post.
4. The link-up will remain open for a week.

The linky party starts on Tuesday, 28th January 2020 and will run on a fortnightly basis.


Grab the Linky Party Button
grab button for The Quilt Yarn
<div class="the-quilt-yarn-button" style="width: 150px; margin: 0 auto;"> <a href="https://thequiltyarn.blogspot.com/" rel="nofollow"> <img src="https://blogger.googleusercontent.com/img/b/R29vZ2xl/AVvXsEhhqb6oi6jN-C1MIyiuX242MvGZcDKsikvIApRviJR5Rg71lYKFP99U7oyMiKfuWvNuJgauJxIQVpRu56aepCVQnWn4bXCHvz6pakIvs7EPOb1CGWtzzQJDW4CSEh5qgnMQOJ0qQpDUuaM/s1600/Ruler+Party+Button3.png" alt="The Quilt Yarn" width="150" height="150" /> </a> </div>

Karin

Tuesday, 21 January 2020

Easy Baby Quilt Revisited

I am up to making the cute hedgehog blocks: I will need 24 of those blocks

Observing the direction of your feature print fabric,  sew a 2 1/2in x 4 1/2in red tone-on-tone rectangle to the right side of a 4 1/2in feature print square. Press the seams to the red tone-on-tone fabric. Join a strip set C, 2 1/2in x 6 1/2in segment to the top of the unit as shown in the block diagram and press the seam towards the feature print fabric. Make 12 blocks this way.


Make another 12 blocks as above, however join the 2 1/2in x 4 1/2in red tone-on tone rectangle to the left side of your feature fabric and join the strip set C  segment to the bottom of the unit to make the block.

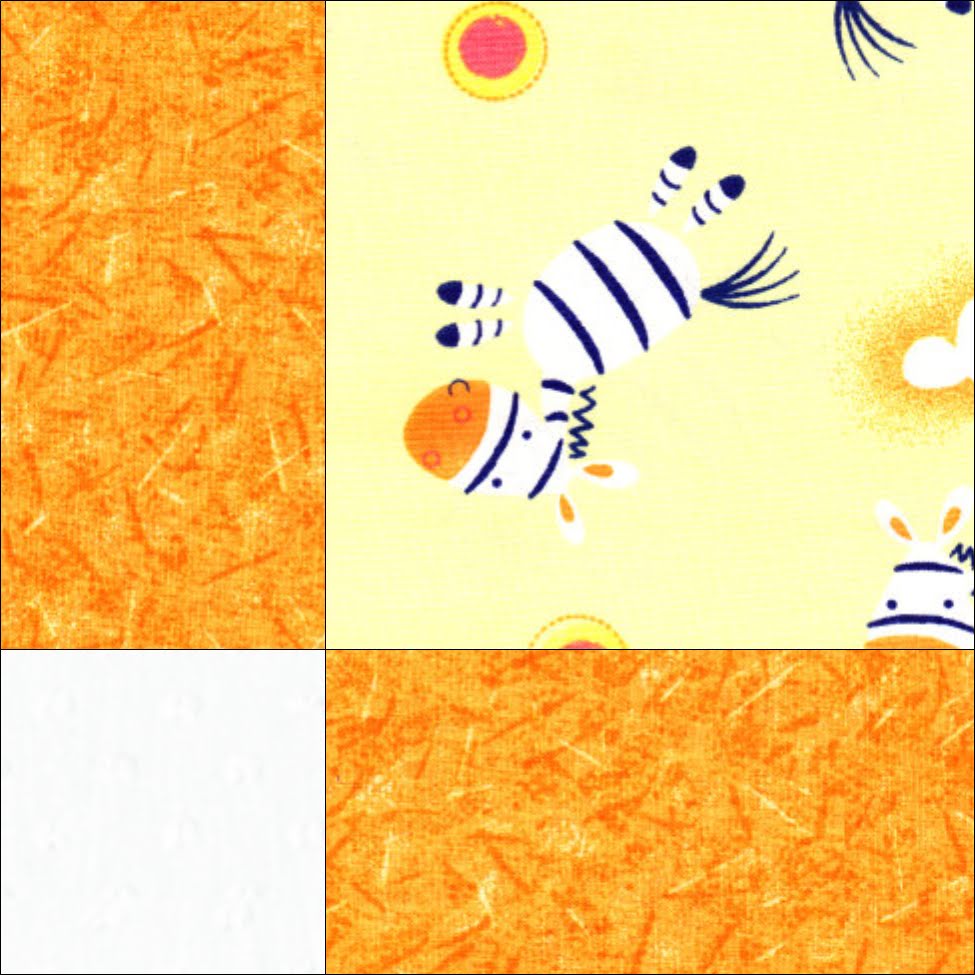
Why is the direction important? You can just make 24 of those blocks and turn them in the direction they need to be placed if you have non-directional fabric. However, if you have directional fabric, 12 of your blocks will be upside down...I found this out the hard way when I made my zebra baby quilt.

Just something to be aware of...obviously with my hedgehogs it is not such an issue as they appear to be going all over the place.

That's it, after this it is just a matter of sewing this all together and my little baby quilt top is done!

Karin

Saturday, 18 January 2020

Short and Sweet

I have been following along Helen Godden's Short and Sweet videos over on the Handiquilter site. They basically cover all things 'freemotionquilting'. Love watching them as they are short and to the point (before Christmas Helen Godden also ran a little Quilt-A-Long which I saw on FB, however as I was working I did not participate in that).

When I had a bit of time after Christmas I remembered the Short and Sweet series and particularly the one about Microquilting where Helen whipped up a kangaroo in no time at all. So, I went over to her website and got that outline of a kangaroo and stitched my little heart out.
Seems somewhat bittersweet with what's going on in Australia at the moment...apart from all the destruction of property and devastation of environment, so many animals lost...

I did not really follow Helen's instructions as I only watched the video again once I was already half way through. This was a lot of fun to stitch out as there was absolutely no pressure to do anything overly correctly. Even managed to try out Helen's 'Dancing Men' design...very cool. Anyway, when I finished it I thought that I try something new...to attach the binding with the Sweet 16!

Had never done this before, but seen it somewhere, so I thought this little piece was the perfect project to practice on. Used the Versa tool for that as it is nice and wide to hold the edge in place

Process of slowly going along the edge, no pinning, no fuss

...went really well, even in the corners!

Actually thought that I had sewn the binding on much straighter than I usually do with the sewing machine.

The finished project

Turned out really well...it's about as big as a placemat.

Karin

Wednesday, 15 January 2020

Easy Baby Quilt Revisited

Continued onto the next section of my Easy Baby Quilt pattern (you can find the free pattern under the tab 'Free Patterns' above).

This is a slightly altered version of my Easy Baby Quilt

My finished block size will be 6 1/2in

Cutting:
(using the colourway of this altered quilt)

Cut all strips across the width of fabric.

9, 2 1/2in white background print strips
6, 2 1/2in blue tone-on-tone fabric strips
3, 4 1/2in red tone-on-tone strips
3, 2 1/2in red tone-on-tone fabric strips and crosscut into 24, 2 1/2in x 4 1/2in rectangles
3, 4 1/2in feature fabric strips (my hedgehogs!) and crosscut into 24, 4 1/2in squares
5, 2 1/2in blue tone-on-tone fabric strips for the binding

As I am changing the quilt ever so slightly, I also cut
4, 2 1/2in orange tone-on-tone fabric strips

I like to cut out the entire quilt before I start piecing unless its a block arrangement I have never done before and need to do some test blocks beforehand. This quilt uses the strip sets, hence lots of chain piecing coming up and it is easier to have all the fabric ready to go,

So, let's do the first two strip sets

Strip set A
Stitch a 2 1/2in blue tone-on-tone fabric strip to either side of a 2 1/2in white background strip. Press the seams towards the darker fabric. Crosscut into 2 1/2in segments. Make 24 units this way.

Strip set B
Stitch a 2 1/2in white fabric strip to one side of a 2 1/2in blue tone-on-tone fabric strip. Press the seam towards the darker fabric. As I am changing my quilt up a bit, I now need to stitch an orange strip to the other side of the white strip. Once that is done, crosscut each strip set into 2 1/2in segments. Make  24 units this way.

Strip set C
Sew a 4 1/2in red tone-on-tone strip and a 2 1/2in white background strip together, pressing the seams towards the red print. Crosscut into 2 1/2in x 6 1/2 in rectangles. Make 48 units this way.

Block 1
Join a 2 1/2in strip set A and a 2 1/2in strip set B segment, abutting the seams and joining the intersections, pressing the seams outwards. Sew a 2 1/2in strip set C segment to the bottom of the unit, completing the block. Press the seams downwards towards the red fabric. The block should measure 6 1/2in square.

And the first block is done! I am glad I am doing this again...forgot how very easy this comes together. Perfect quilt when you need something in a hurry and do not want to spend a lot of time on piecing. I will now go ahead and make 24 of Block 1. I usually do this via chain-piecing, i.e. stitch all the same units at the same time, feeding them continuously through the machine, ending up with a long strip of joined pieces. Then I snip them apart and start with the next lot of units. This saves a lot of time and thread and is one of my favourite piecing method.

Karin

Tuesday, 14 January 2020

Let's Do Some Ruler Work Linky Party Coming Soon

Exciting news.

I am going to run a ruler-quilting linky party.

I love linky parties and have been thinking for a while to set one up. Ruler quilting is the obvious subject for me
Part of the collection (slightly embarrassing!)...I still got a few more put away in another box!

Given the amount of new rulers coming out all the time it made sense to me to focus in on that, as I am certainly addicted to it and I am pretty sure that I am not alone in that. Quilters seem to be collectors and like with many things, sometimes we buy these items and then don't use them. I am hoping that a linky party might encourage people to get out their rulers and give it a go and hopefully get some inspiration on what can be achieved with some very simple designs.

For example, my recent baby quilt
Not much ruler work really, but it certainly made this quilt pop.

...or the Bird quilt

...that went from  a fairly simple block to quite spectacular.

The linky party will begin on Tuesday 28th January and run for a week. At this stage I am thinking of hosting this on a fortnightly basis.

The rules will be basic...join in if you are using rulers on your DSM or longarm, make sure to visit other blogs and leave some comments and enjoy the inspiration. I will set up a page closer to the date.

Please grab the button (which took me over a week to get right 😅) and spread the word. Hope to see you at the party!

grab button for The Quilt Yarn
<div class="the-quilt-yarn-button" style="width: 150px; margin: 0 auto;"> <a href="https://thequiltyarn.blogspot.com/" rel="nofollow"> <img src="https://blogger.googleusercontent.com/img/b/R29vZ2xl/AVvXsEhhqb6oi6jN-C1MIyiuX242MvGZcDKsikvIApRviJR5Rg71lYKFP99U7oyMiKfuWvNuJgauJxIQVpRu56aepCVQnWn4bXCHvz6pakIvs7EPOb1CGWtzzQJDW4CSEh5qgnMQOJ0qQpDUuaM/s1600/Ruler+Party+Button3.png" alt="The Quilt Yarn" width="150" height="150" /> </a> </div>


Karin

Popular Posts