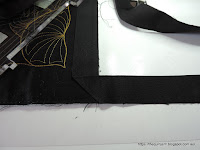
The class covers basic stuff about ruler quilting including information about measuring/marking, ruler feet, how to stitch with a ruler and alignment, and some information about rulers. In the class Patsy is making a basic table runner using a straight line design, arcs and curves. I was particularly interested in the marking of the designs and producing accurate channels, so I followed along making a slight variation of this table runner.
 So I did some straight line design, curve design and arched swags. I used my Pro Echo 7 and 12 for the curves and arcs. Should have probably chosen some more contrasting fabric and thread as this was very hard to photograph.
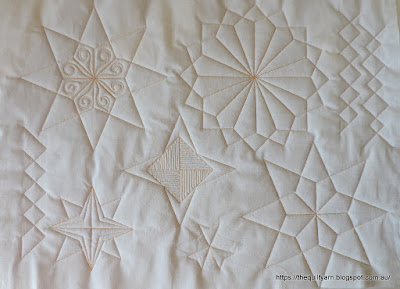
...and then I did some filling in to just practice different designs
Gone a bit overboard practicing some crosshatching with the Pro Echo12 ruler (still find that very challenging) and also some more piano keys with the HQ Line Grid ruler. And...as you can see...stuffed the curves up a bit by filling them with a darker thread which makes the filler design stand out more than the curves. Live and learn (I think Patsy did mention this, but I was just so bored with the coordinating thread). What did I learn?
- measuring your border (for each design) down to 1/8in was absolutely essential
- marking your center lines correctly (and, if need be, correcting them slightly after your first pass) is important to have all the points align on the same line (easier said than done!)
- alignment of your ruler to hit that little tick mark each time is crucial
- picked up a neat little hint on judging the alignment when doing arcs, using this little tool (which I had floating around in my sewing box)...just holding the little 1/4in notch against your ruler to double-check that you are actually 1/4in away from your tick mark...this was very helpful when wanting to be precise.
Great class!
Now its your turn to share what you have been making with rulers.
Karin


